A faded paper background, a mischievous cat, a ticket tucked into a pocket: small details can give a Halloween paper project its character. They also leave plenty of room for a photograph, a handwritten memory, or a message to someone who enjoys the season as much as you do.
These three projects use four complementary ShadowHero Crafts collections. Start with a two-page memory spread, make a pocket for loose keepsakes, or turn a black-cat illustration into a greeting card. Choose the project that suits what you want to keep or give.
The project images are AI-styled concepts based on product previews, not photographs of printed samples. They offer layout inspiration; details, colours, and scale may differ from your finished pieces.
Gather a few everyday supplies
You’ll need scissors, a ruler, a pencil, a pen, suitable printing paper, and a glue stick or paper-crafting adhesive. Add a journal for the first two projects and plain cardstock or a folded card blank for the third. A photograph, ticket, or handwritten note is optional.
The four digital collections used here are sold separately:
- 57 Halloween Junk Journal Pages for backgrounds and smaller paper panels.
- 16 Halloween Junk Journal Fussy Cuts for pumpkins, ghosts, a scarecrow, and a skull-faced character.
- 130 Dark Carnival Tickets Labels Ephemera for admission-ticket, plaque, and apothecary-style details with a gothic Victorian sideshow feel.
- 40 Black Cat Junk Journal Fussy Cuts for vintage witchy-cat illustrations.
These are downloads to print yourself. Physical journals, cards, printed sheets, pre-cut pieces, and styling props are not included. Check each listing for the supplied file formats and download details.
Measure once, then make a test print
All four listings specify artwork at 2550 × 3300 pixels, or 8.5 × 11 inches at 300 DPI. These are the listed artwork dimensions, not the dimensions of every individual cutout.
Measure the usable area of your journal page or folded card before sizing the artwork. Leave space near the journal’s centre fold so layers do not crowd the binding.
For example, an 8.5 × 11-inch background printed at 50% measures 4.25 × 5.5 inches. That fits inside a measured 4.5 × 6-inch space, provided the printer software applies no further scaling. Keep proportions locked, and check both width and height.
If you arrange artwork at the desired size on a printable page, print that page at 100% or actual size. Check the preview for cropping and automatic “fill” settings. Use the purchased files rather than screenshots of shop previews.
Print one test sheet on ordinary paper and measure it before using your chosen craft paper. Check your printer’s supported paper types and weights; cardstock can be glued behind a paper print if your printer cannot feed it. The printing FAQs offer further help.
Project 1: A two-page Halloween memory spread
Use 57 Halloween Junk Journal Pages with 16 Halloween Junk Journal Fussy Cuts to frame a memory from October. A costume photograph, film-night note, or account of a pumpkin-carving afternoon gives the spread a focus.
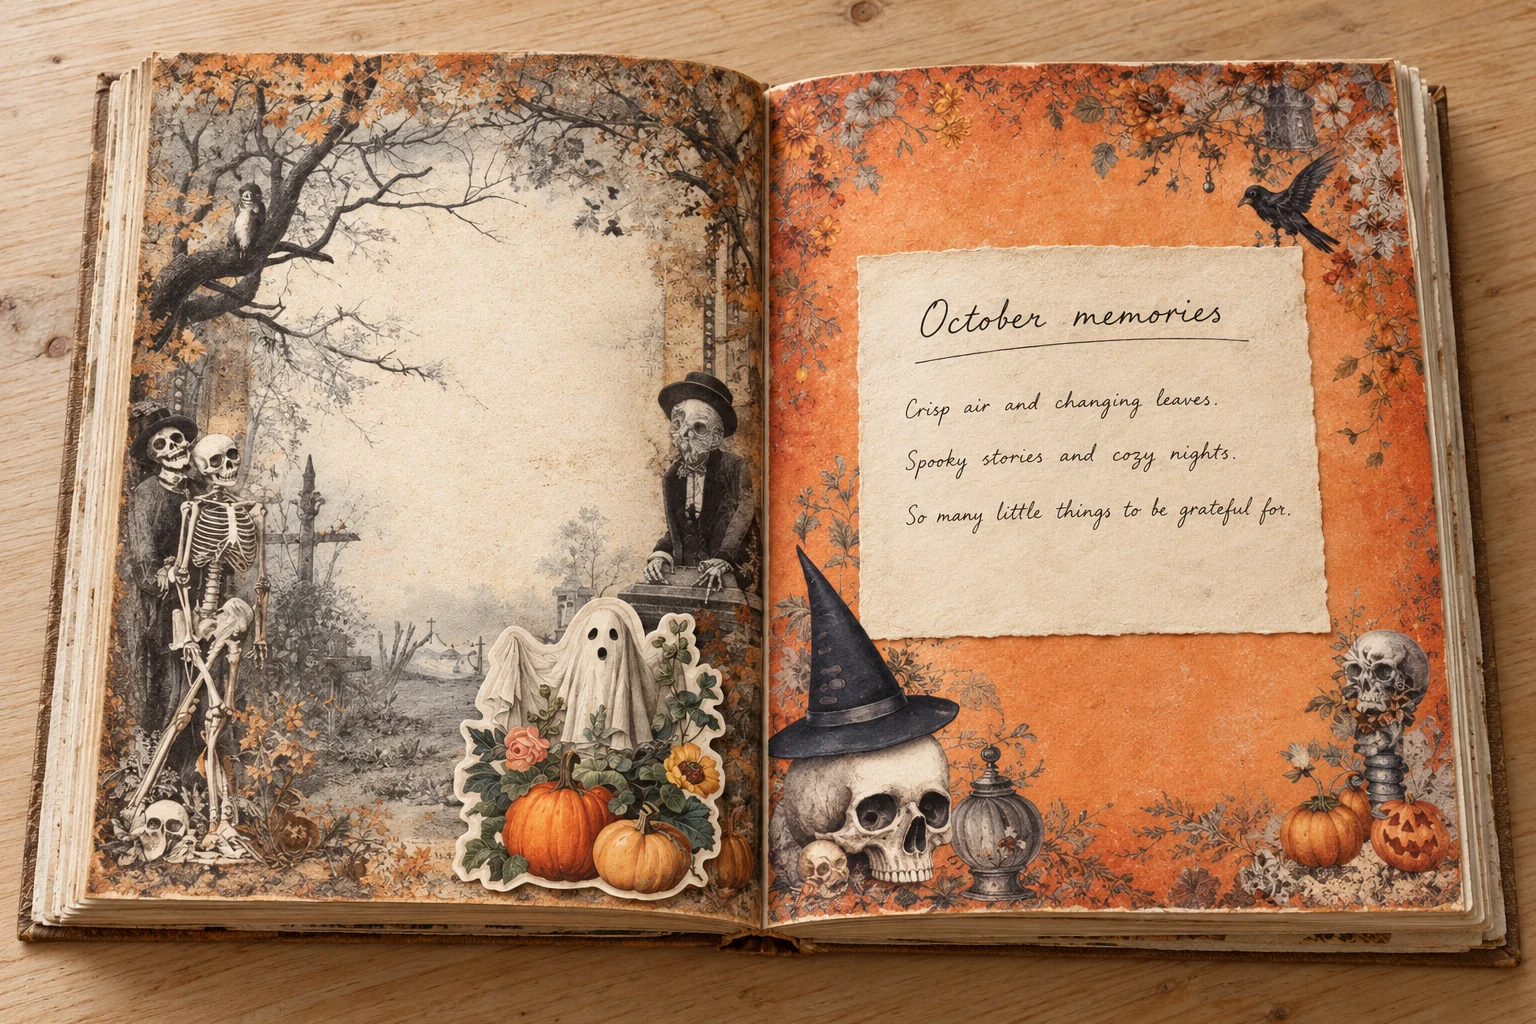
1. Give each page a job
Choose two backgrounds with a shared colour. Reserve one page for a title and writing, and the other for a photograph or main illustration. If both backgrounds are detailed, cut a plain paper panel for your words.
Keep the memory visible while choosing decorations. One pumpkin or ghost may be enough beside a photograph; a page without a photo can carry a larger character.
2. Trim and try the arrangement
Trim the backgrounds to your measured spaces. For each illustration, make a loose first cut to separate it from the sheet, then follow the outline with small cuts, turning the paper as you go. A narrow border around delicate details is perfectly fine.
Lay everything in the journal without glue. Position the writing panel first, then the photograph and cutouts. Let an illustration overlap a paper edge slightly, while keeping faces, writing, and important details clear.
Leave the centre fold free of thick layers. Gently close and reopen the journal to check the fit, then photograph the arrangement if you want a reference while gluing.
3. Attach the layers and add the story
Glue down the backgrounds, followed by the plain panel and decorations. Apply adhesive sparingly and follow its drying instructions; excess wet glue can wrinkle lightweight paper. Use photo-safe adhesive or photo corners for a photograph you want to preserve.
Let everything dry before writing or closing the journal. Add the date and two or three details you might otherwise forget: who was there, what made you laugh, or how the evening ended. The finished spread should have room for your story as well as the artwork.
Project 2: A dark carnival ticket pocket
Pair an offcut from 57 Halloween Junk Journal Pages with a detail from 130 Dark Carnival Tickets Labels Ephemera. This pocket keeps a loose ticket or short note together with its journal page.
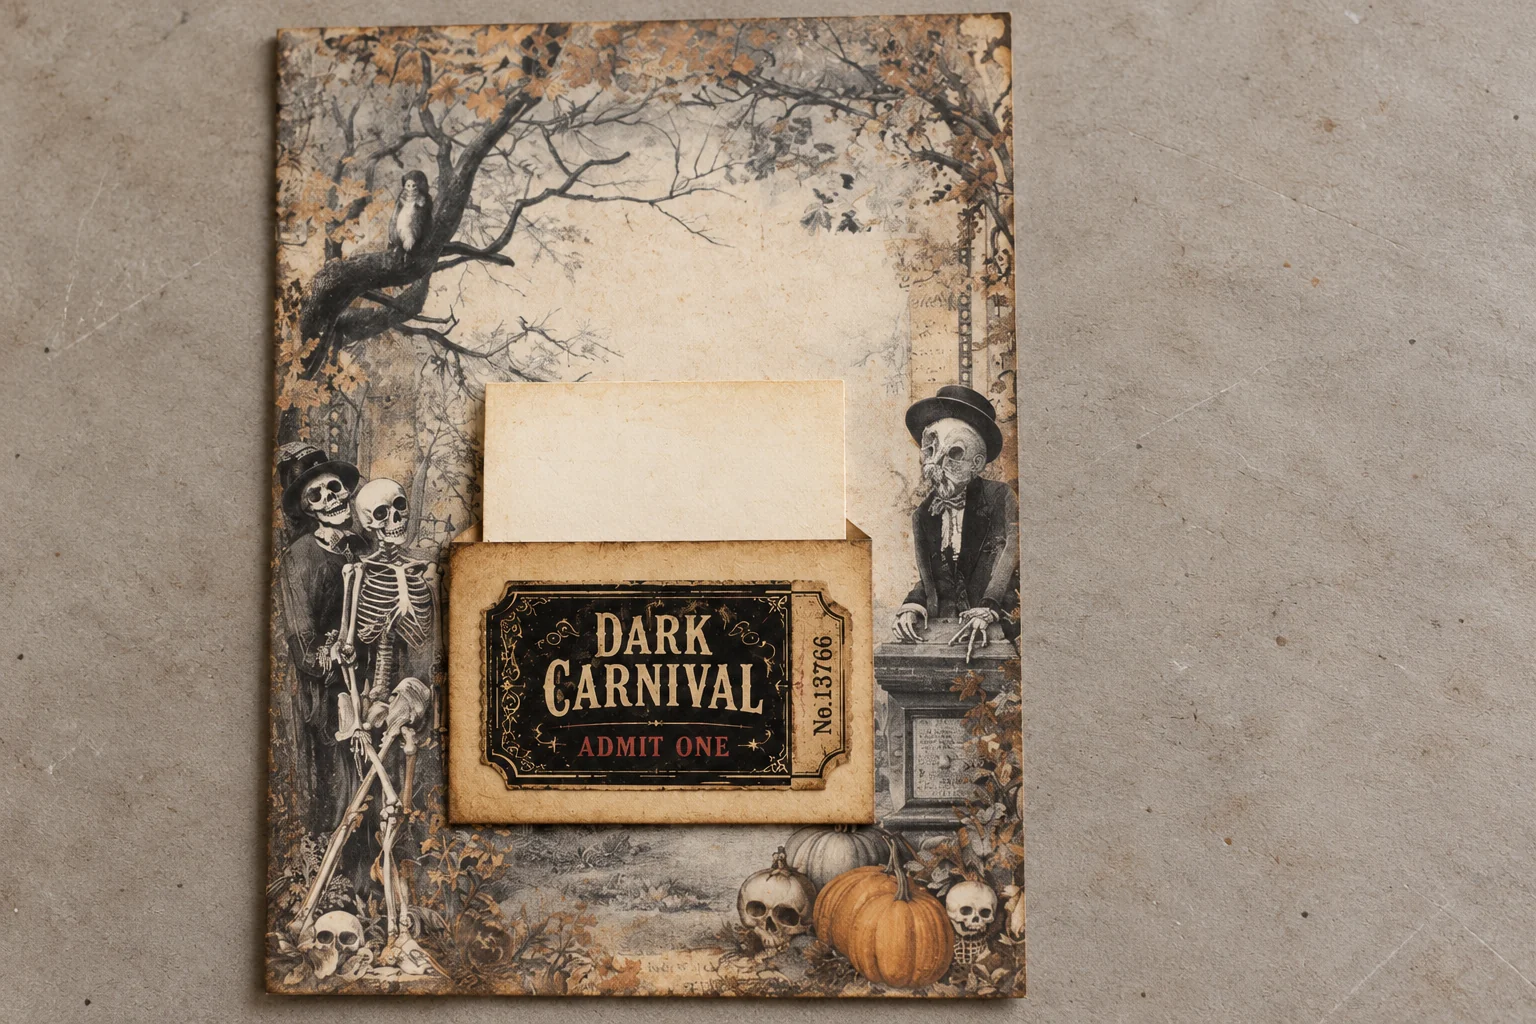
1. Size the pocket around its contents
Choose one flat keepsake or make a small note card. Cut a rectangle of printed background paper wider than the insert, allowing room for glue along both sides and a little clearance. Make it shorter than the insert so the top remains easy to grasp.
For a 2-inch-wide insert, a pocket about 2.5 inches wide gives you space for narrow glued edges. Test the pieces together before committing.
2. Decorate the front
Cut out a carnival ticket, plaque, or label and attach it to the pocket’s face while the rectangle is still loose. Keep the decoration within the rectangle, clear of its top opening. Let it dry.
If the printed background is thin, back it with another piece of paper and trim the layers together. Keep the backing modest so the journal can still close.
3. Glue only three edges
On the back of the pocket, apply a narrow line of adhesive along the left, right, and bottom edges. Leave the top completely unglued. Press the pocket onto the journal page without flattening adhesive into the centre.
Let it dry fully before sliding anything inside. Do not use the insert to hold the pocket open while the glue is wet: it could stick. Add a date to the removable note and tuck it in with enough showing to pull it out easily.
Project 3: A black-cat greeting card
Use 40 Black Cat Junk Journal Fussy Cuts as the focal point, with a small panel from 57 Halloween Junk Journal Pages. A plain card base gives the cat room to stand out.
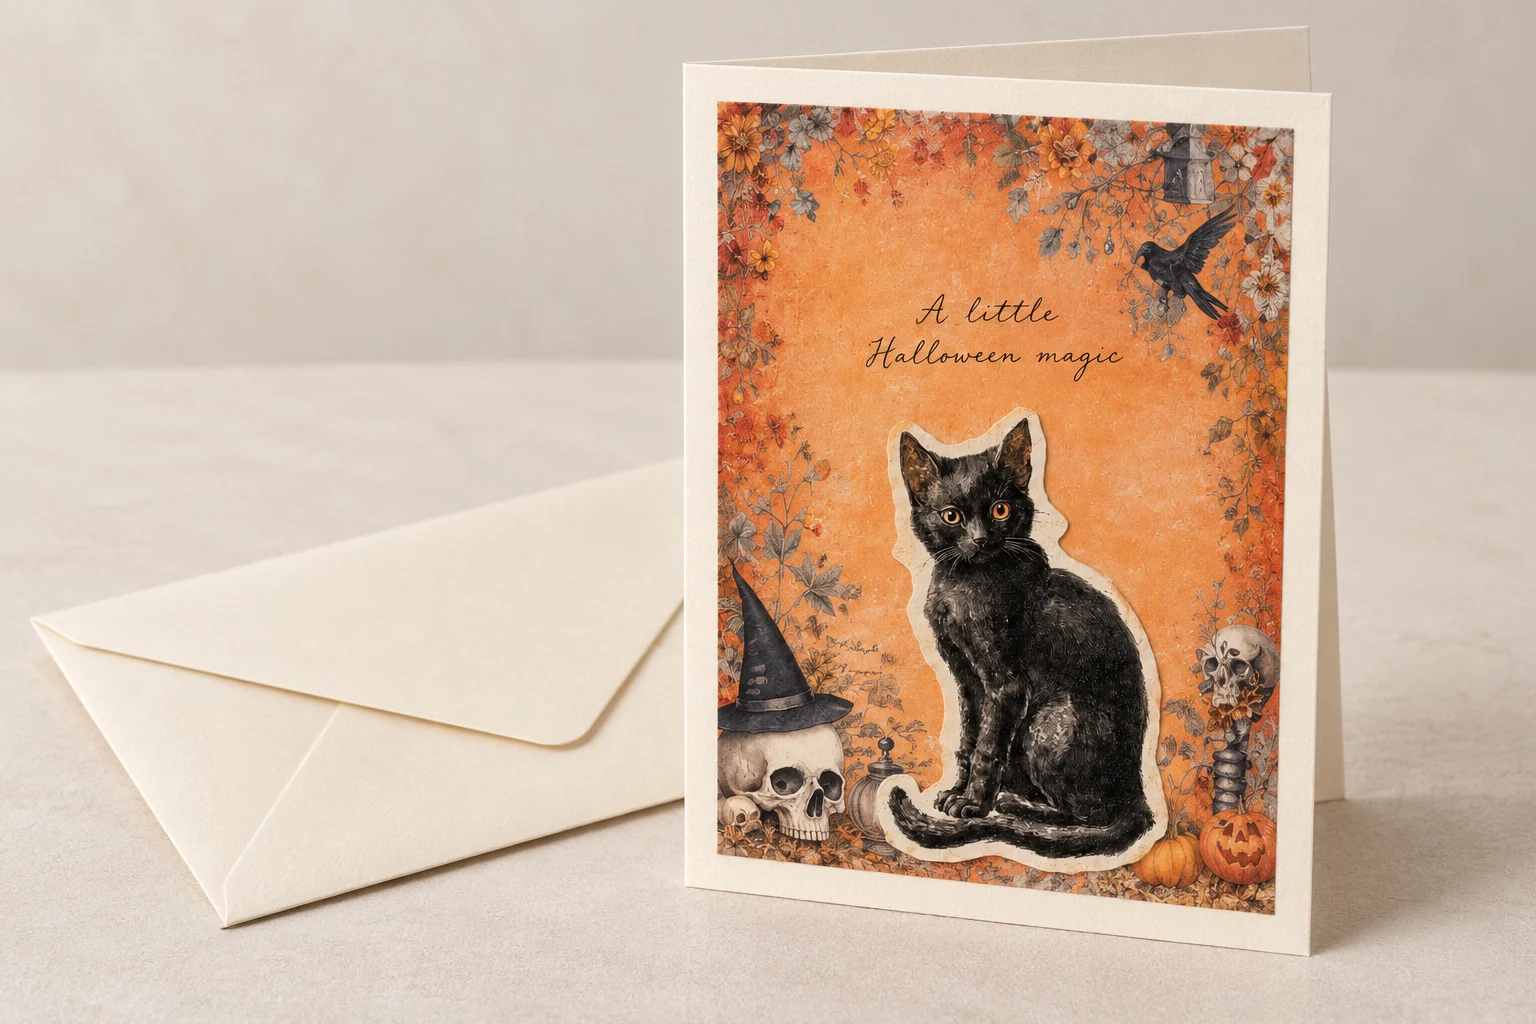
1. Fold the base first
Use a ready-made card blank, or cut cardstock to 8.5 × 5.5 inches and fold the 8.5-inch width in half. The closed card will measure 4.25 × 5.5 inches. Crease neatly, then measure the front.
Cut a background panel slightly smaller than the card front, leaving a visible border. Check that your chosen cat fits comfortably inside that area before printing the final version.
2. Build a simple front
Glue the background panel in place. Fussy cut the cat with a small border where needed, and position it toward the lower half of the panel. Leave space above for a short handwritten greeting, perhaps “A little Halloween magic.”
Keep the layers flat and clear of the fold. Allow the adhesive to dry with the card open, then write your message inside. Check the finished card against its envelope, including any raised decoration.
Frequently asked questions
Can I print these designs on A4?
Yes. Place or scale the artwork within A4’s printable area without stretching it. A4 and US Letter have different proportions, so check the preview and measure a test print.
Do I need a cutting machine?
No. Scissors are enough for these projects. Leave a small paper border around fiddly outlines rather than cutting every tiny detail.
Why do my print colours look different?
Screens and printed paper can show colours differently. Match your printer’s paper setting to the paper loaded, then test a supported quality setting before printing several sheets.
Can I share the files or sell things I make?
Do not share or redistribute the purchased digital files. Check the individual listing and the digital product licence for the terms that apply to your intended use, including items made for sale.


