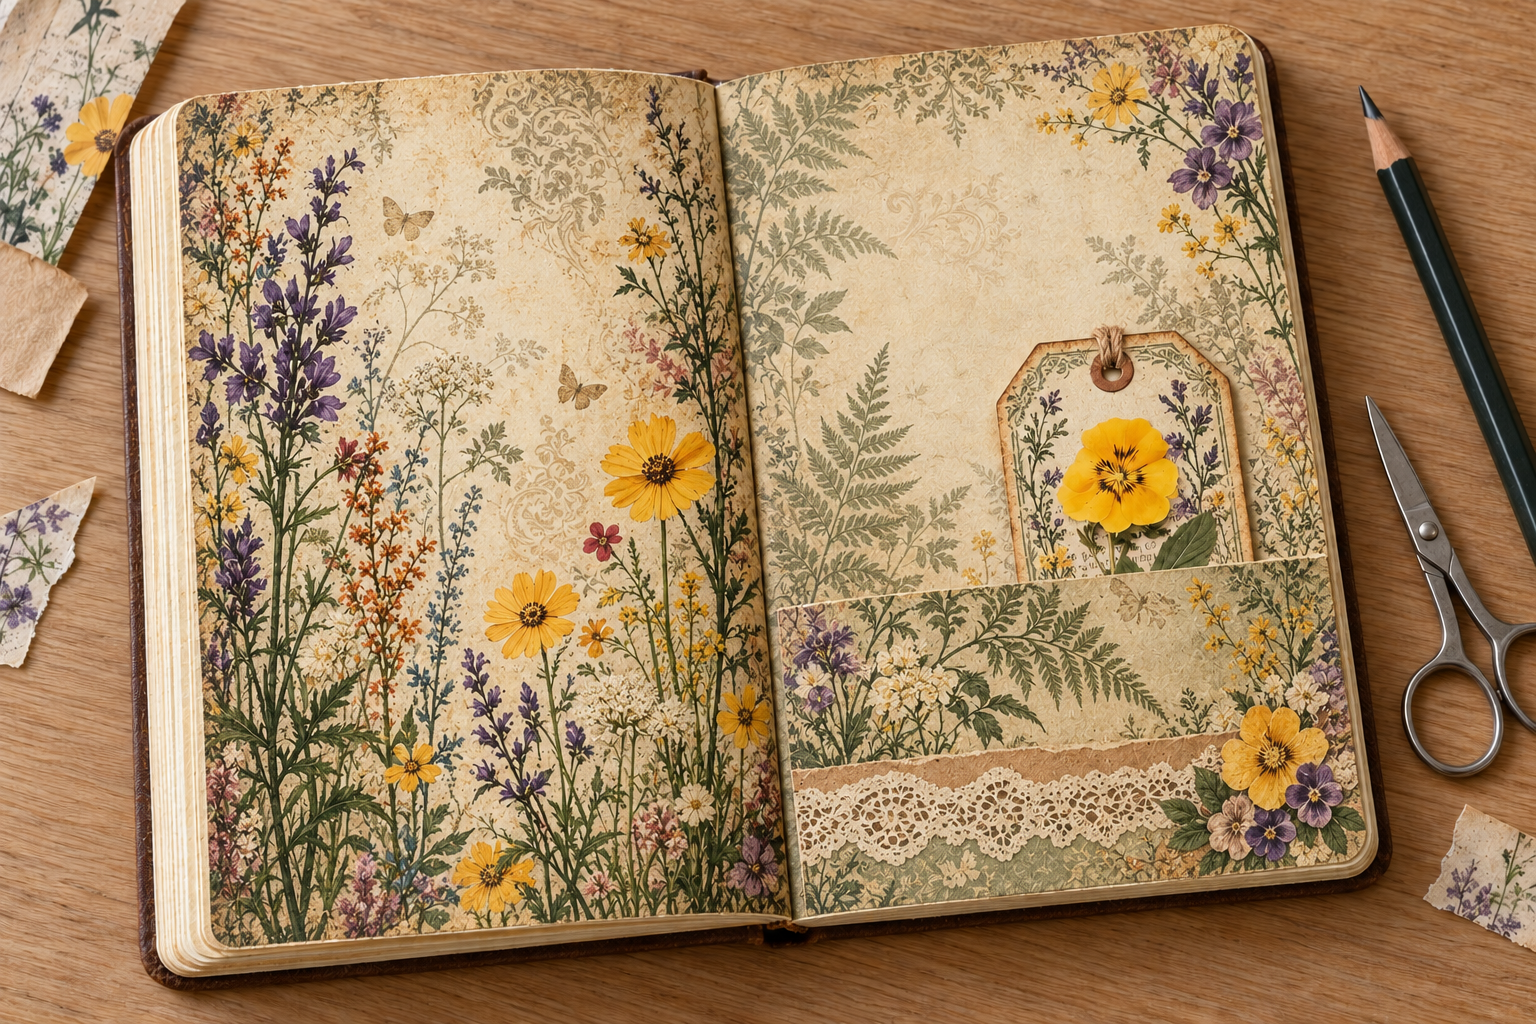
A notebook and a few saved papers are enough to start a junk journal. A ticket from a day out, an old envelope or a flower illustration can give you an idea for the first page. The harder part is often deciding where to put everything.
To start a junk journal in a notebook, use one you already own and begin with a single spread. You’ll arrange a background, make a pocket and add a note worth keeping. There’s no binding or sewing in this project.
The examples below use vintage junk journal printables from our shop alongside ordinary paper scraps. Each image shows a page or design you can use, with a suggestion for where to place it. You can also follow the steps with materials from your own collection.
What is a junk journal?
A junk journal is a book filled with a mixture of papers, writing and keepsakes. It might hold photographs and notes about your week, or become a place to try paper collage. Pockets and folded pieces give you somewhere to keep things you don’t want to glue down.
You can make the book itself from loose sheets or decorate an existing notebook. Heather Naggy’s beginner tutorial at The Graphics Fairy explains a handmade version with a cover and assembled pages. Starting with a notebook lets you practise arranging the pages first.
Junk journal supplies for your first page
- A notebook with paper that can hold a light layer of glued scraps.
- Scissors, a pen and a glue stick or paper adhesive.
- A few clean paper scraps or envelopes.
- A ruler for measuring a pocket.
- Optional printable journal pages, labels and fussy cuts.
Stamps and decorative tools can wait. If you want to include a photograph or keepsake that you cannot replace, use a copy while you’re learning how the paper and adhesive behave.
1. Pick a background and leave room to write
Choose a theme you have something to say about. For a garden journal, that could be a flower you noticed on a walk. A reading journal might begin with a book title and a few lines about why you chose it.
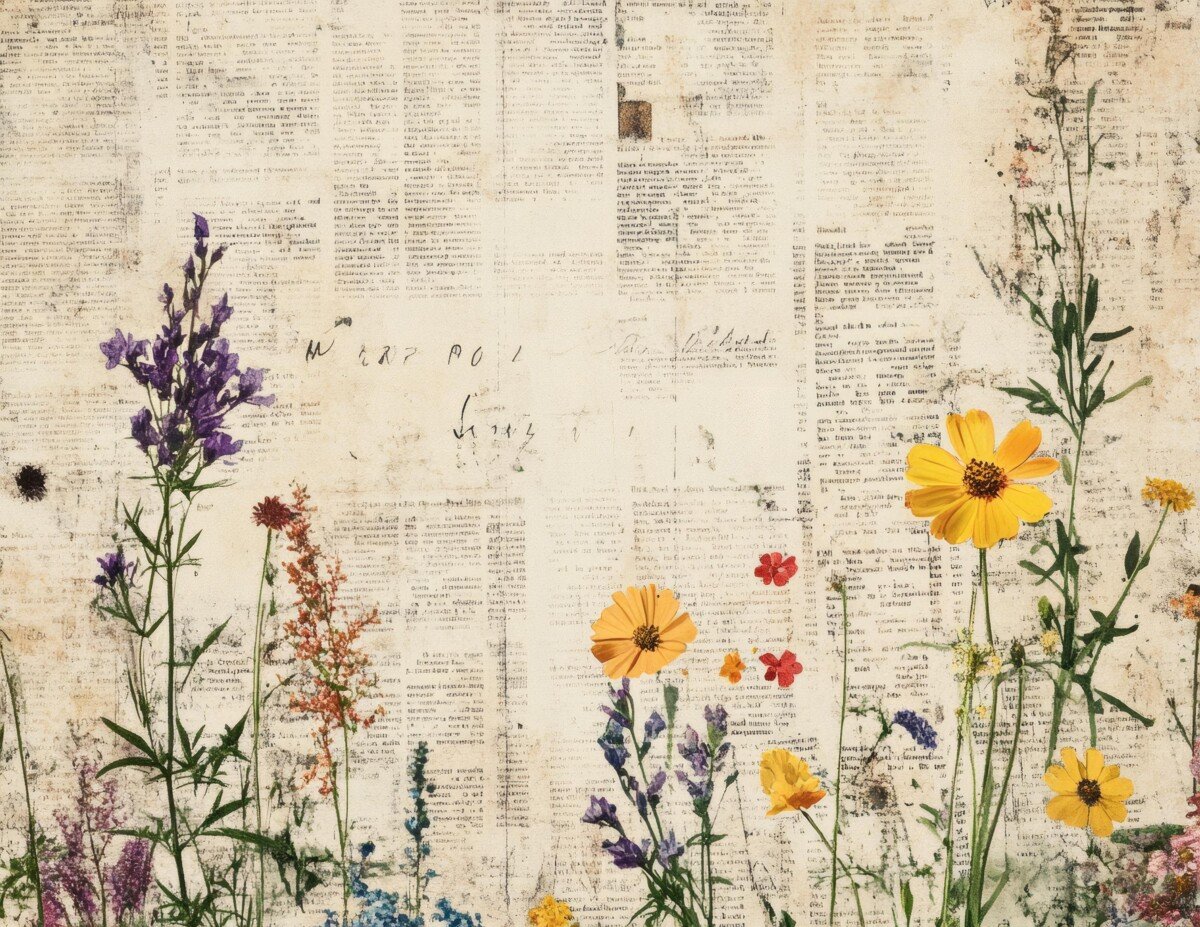
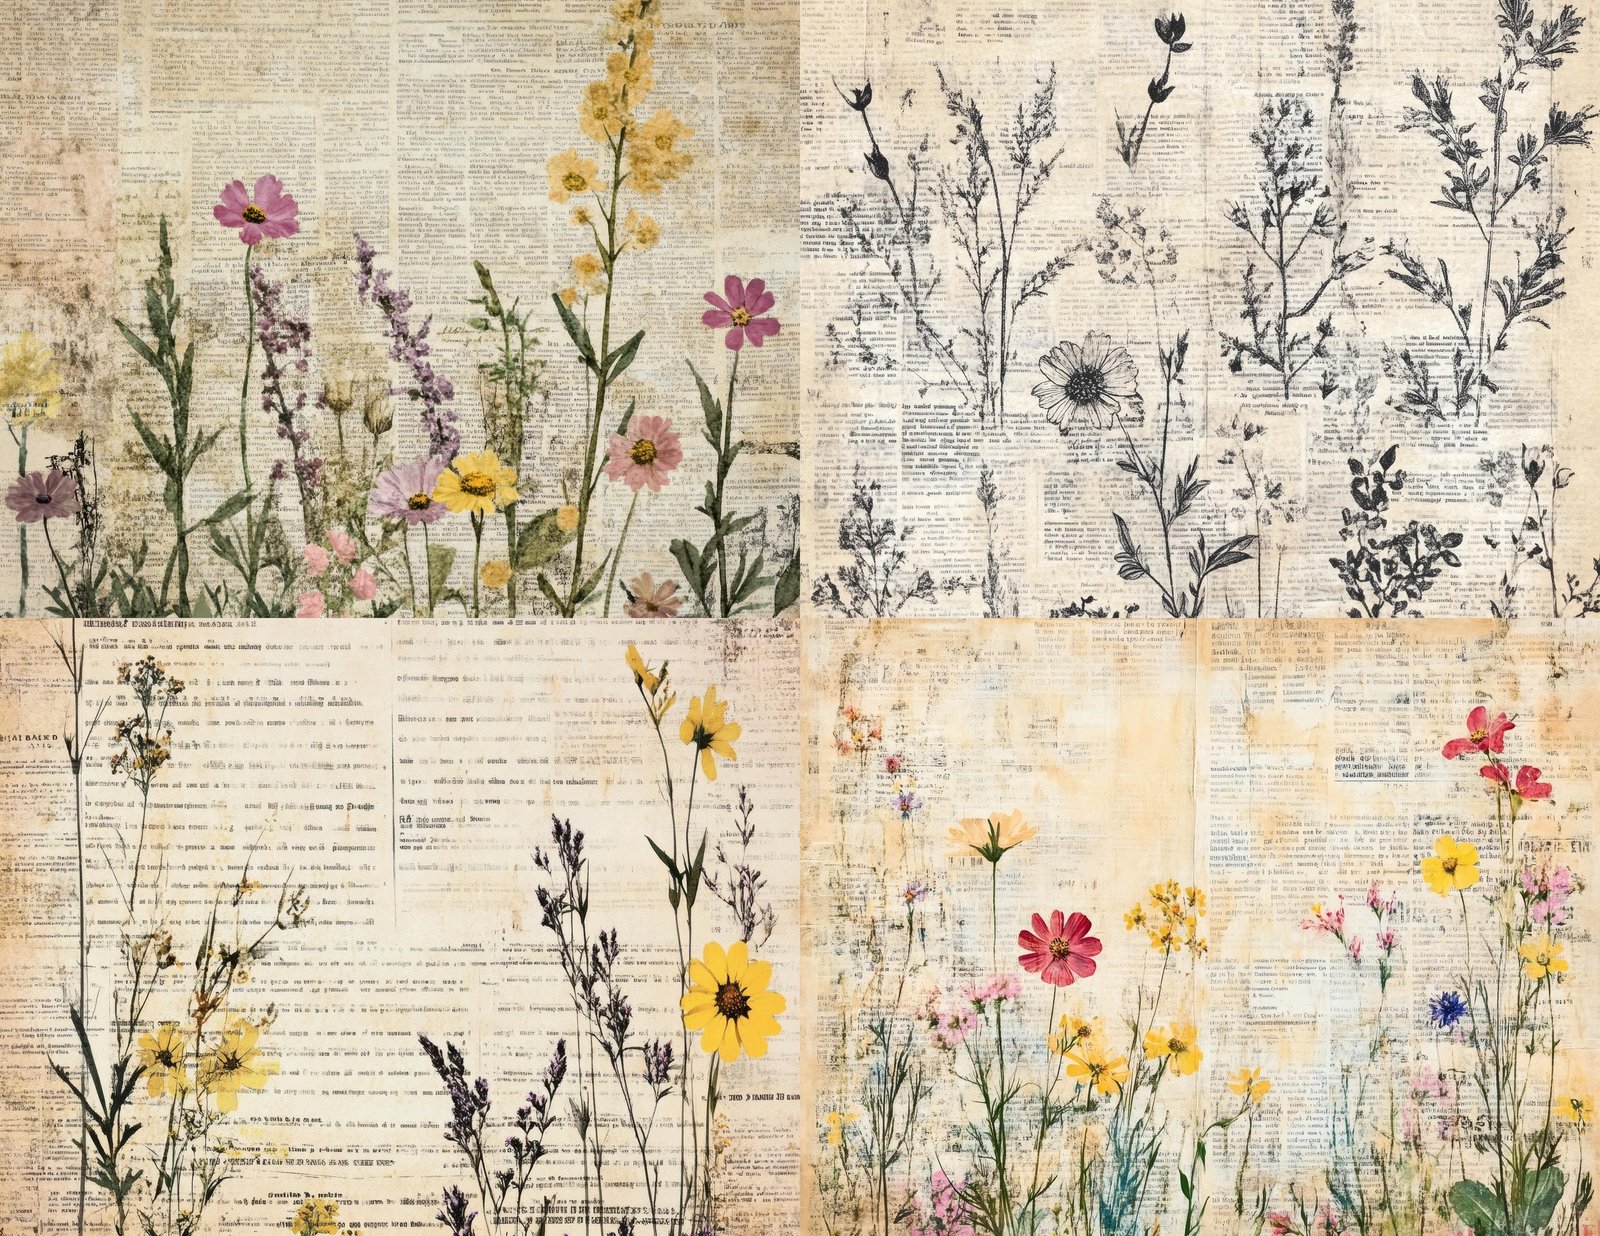
For a vintage botanical page, start with one patterned sheet and a plain scrap for your writing. The Vintage Newspaper Wildflower Journal Papers mix faded newsprint with flowers. In the page preview shown here, yellow and purple blooms run around the lower part of the design. Keep those flowers visible and place a small writing panel over a quieter area.
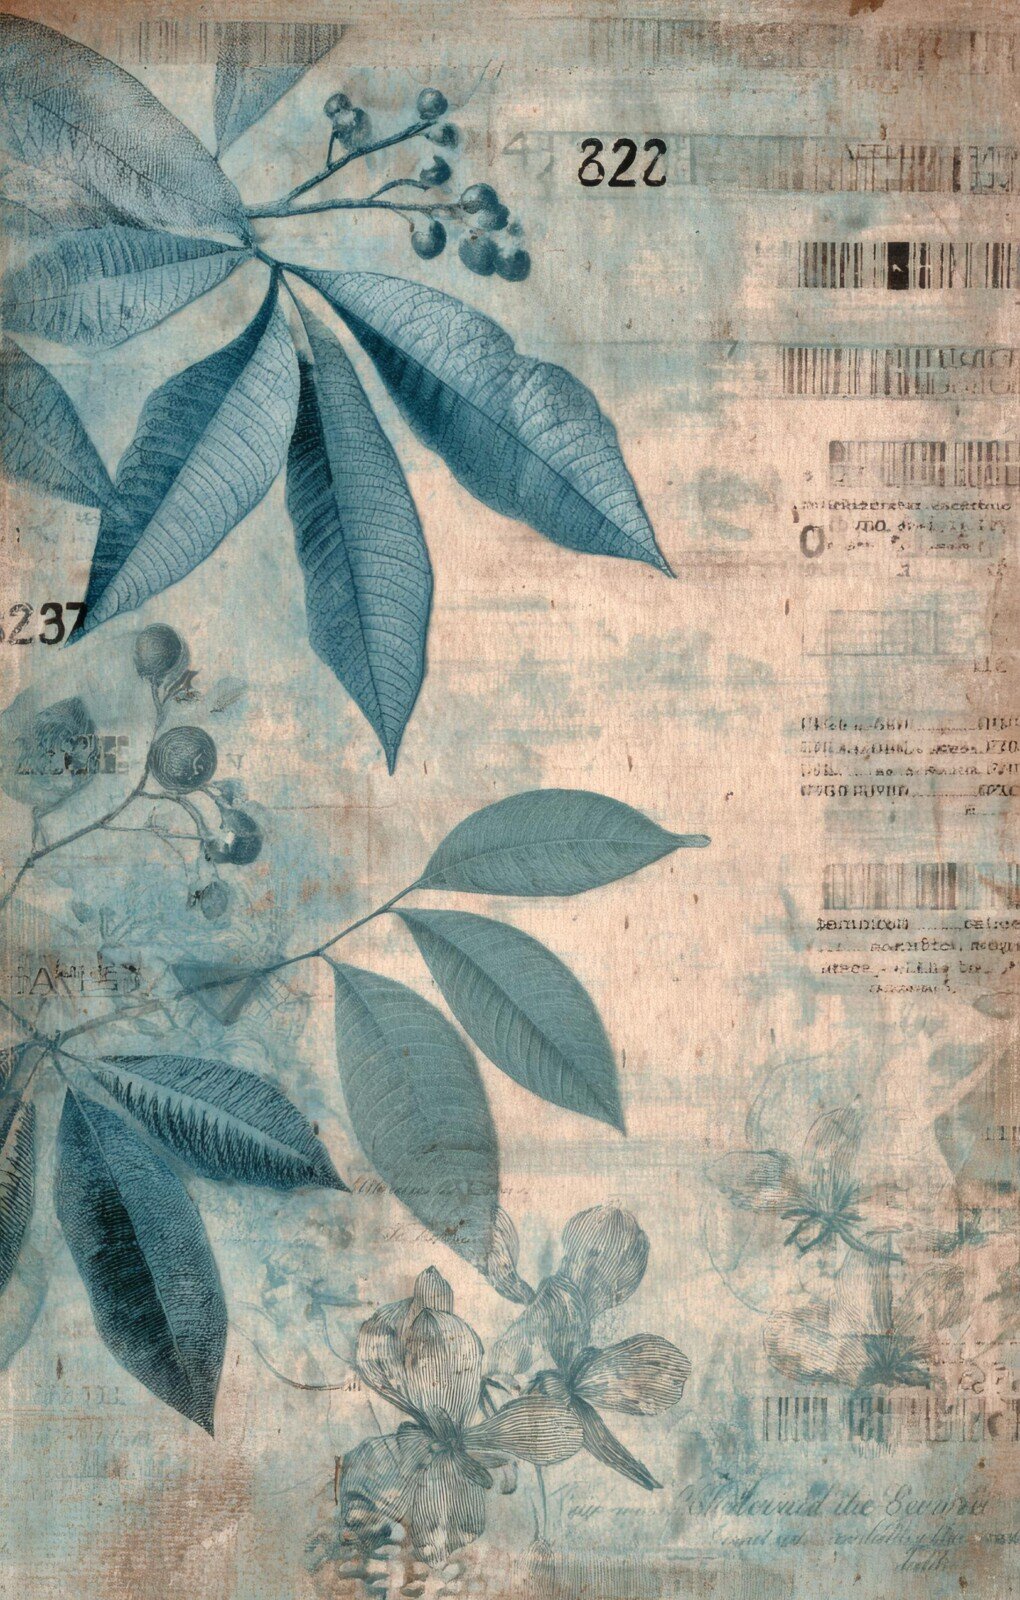
If you prefer cooler colours, the Vintage Botanical Scientific Journal Pages include blue plant artwork over aged-paper textures. The tall page shown here would work beside a plain page of garden notes. You don’t need both background collections for one spread; choose the one that suits your notebook.
2. Print one test sheet before printing more
Download the original files from your purchase. The images in a blog or product gallery are previews, so don’t print a screenshot as your finished page.
When printing junk journal pages at home, check the document size and the paper size in your printer settings. The print preview should show the whole area you want to keep.
“Actual size” keeps the intended dimensions, although a printer with unprintable margins may crop the edges. “Fit” can keep the design inside those margins but may change its size. Print one sheet and hold it against the notebook before making more copies.
Use paper your printer supports that folds comfortably. A heavier sheet can help a removable tag hold its shape, but check the printer’s paper-weight limit first.
3. Arrange the spread before reaching for glue
Open the notebook flat and lay the background on the left page. You can cover the page or leave a narrow border of notebook paper showing. Tear an edge if you want a softer outline, or use scissors for a straight one.
Place your writing panel on the right, leaving space below it for a pocket. Move the pieces around while they’re loose. A background with plenty of printed detail usually needs fewer decorations.
Close the book gently to check that nothing sticks out or bunches up near the centre fold. Once the arrangement works, attach the background with a thin, even layer of adhesive. Let it dry according to the adhesive instructions.
4. Add a pocket and a botanical tag
Cut a paper rectangle slightly wider than the card or note you want to keep inside. Apply a narrow line of adhesive to the bottom and two side edges, leaving the top open. Press it onto the page and let it dry before sliding anything into the pocket.
TOP EDGE: OPEN
LEFT
RIGHT
GLUE BOTTOM EDGE
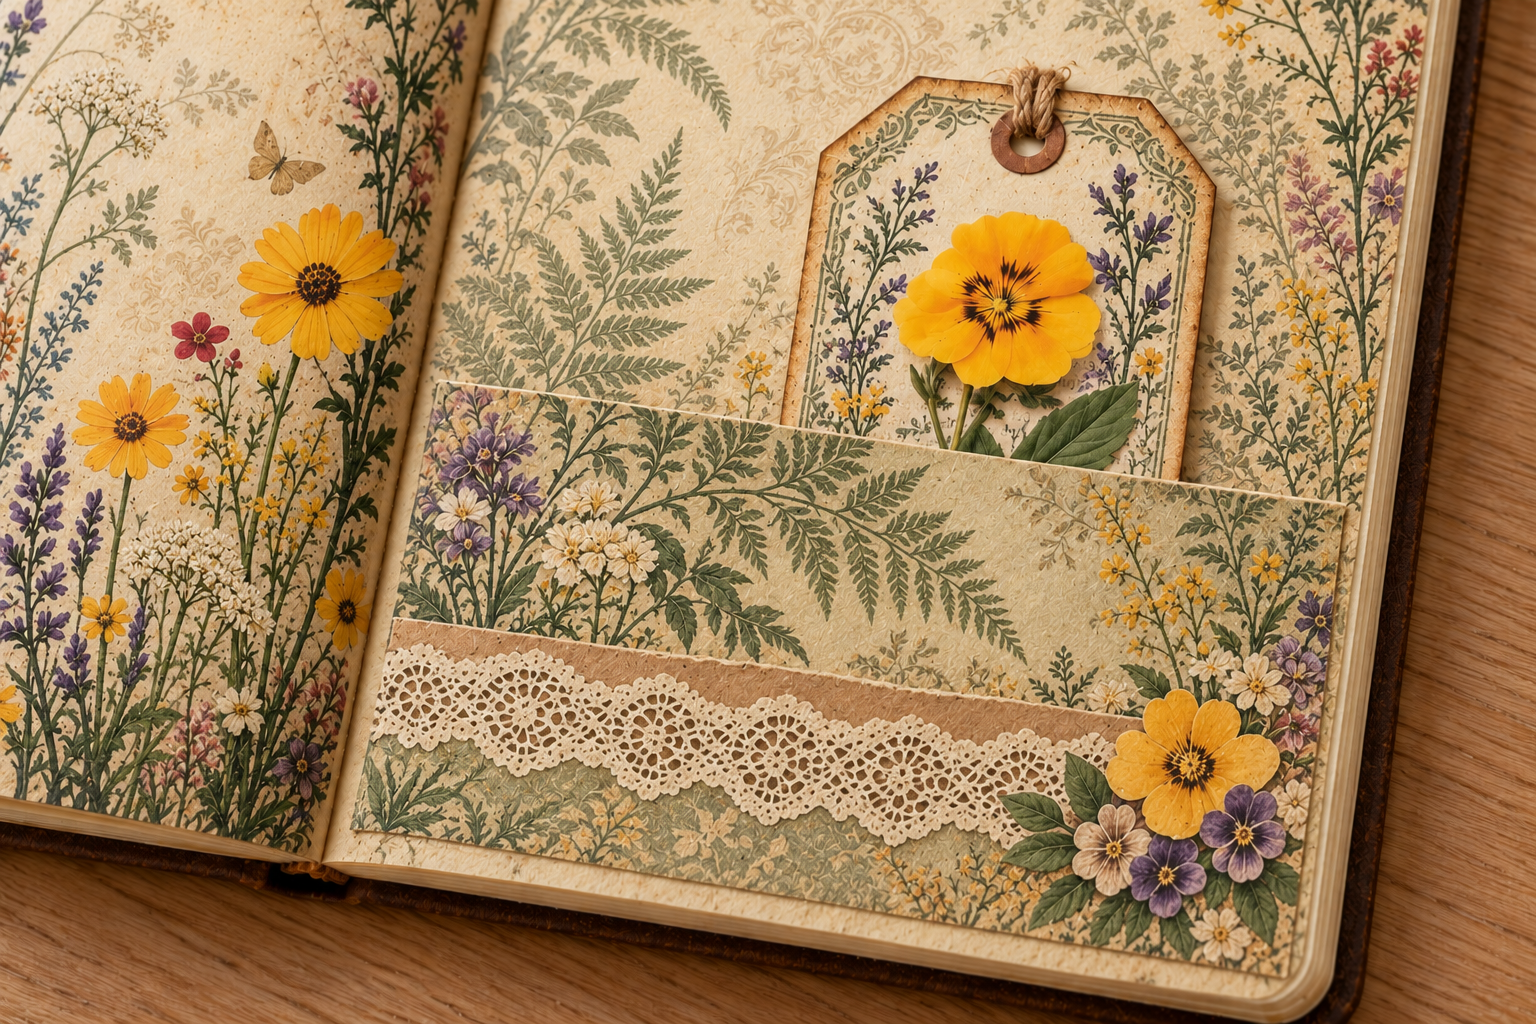

The Botanical Pocket Labels & Tags have flower designs over aged text. Cut out a tag from a sheet like the one shown here and tuck it into the pocket. You could write a date on the back or add a small plain label if the printed front is too busy for handwriting.
If you glue a label to the pocket front, keep it below the opening. It’s easy to seal the pocket accidentally when an embellishment overlaps the top edge.
5. Optional reading-journal variation: Use a library card
This step is optional. If you are making a garden or everyday notebook spread, skip it and continue to the fussy cut. If you keep a reading journal, a library card can hold a book title, date or short note. Choose any piece of printable ephemera for what it can hold or help you remember.

Our Vintage Library Cards Printable Ephemera suit a book-themed spread. The sheet shown here has lined card designs in faded cream, pink and blue tones. Try one as a removable insert beside your reading notes.
Some designs already contain printed writing. Keep your own book title and reading date on a plain panel or a separate note tucked behind the card. That leaves both the artwork and your handwriting easy to see.
6. Add a fussy cut without hiding the page
Fussy cutting means trimming a picture around its outline. A small cutout can overlap a background edge or sit beside a note, giving the page a clear point to look at.

The 24 Floral Vase Junk Journal Fussy Cuts add a botanical accent that fits this spread. Print and cut out one vase, then test its position beside a note or pocket. The preview shows the digital artwork before printing.
For your first fussy cut, leave a narrow border around delicate edges. Turn the paper as you cut and work slowly around small details. Place the shape on the page before gluing, checking that it doesn’t cover your writing or block the pocket.
Ordinary printed paper needs adhesive. Suitable sticker paper has its own backing. Colleen’s guide to printable stickers and fussy cuts explains that difference if you’re choosing between the two.
7. Finish with a few words of your own
Add the date and something specific: where the keepsake came from, what was growing on your walk, or a sentence about the book you’re reading. A short note is enough to give the page a reason to exist beyond its decoration.
If the spread feels crowded, remove one loose piece before adding anything else. Keep thick layers away from the centre fold and check that the notebook still closes. As you fill more pages, vary the position of pockets so the bulk doesn’t build up in one corner.
Save the leftover shapes and paper strips in an envelope. They can become a border or a small label on your next page.
Find the printables shown here
You can choose individual designs to match the papers you already own:
- Vintage Newspaper Wildflower Journal Papers for floral newsprint backgrounds.
- Vintage Botanical Scientific Journal Pages for blue botanical backgrounds.
- Botanical Pocket Labels & Tags for removable tags and pocket decorations.
- Vintage Library Cards Printable Ephemera for reading-journal inserts.
- 24 Floral Vase Junk Journal Fussy Cuts for botanical cutout details.
These are digital downloads. No physical supplies or finished journal will be shipped. Check each listing for its contents, dimensions and file information. Our download help page explains how to access your files.
Common beginner questions
Can I make a junk journal without a printer?
Yes. Use envelopes, clean packaging and other papers you already have. If you buy printables and want to use a printing service, check the product licence first.
Do I need a complete junk journal kit?
No. A kit can help you choose matching designs, but a notebook and a small selection of papers are enough for this project.
Can I use a lined notebook?
Yes. Keep the lines visible where you’ll write and cover selected areas with patterned paper. Test one spread to see how the notebook handles glue before decorating the rest.
Do I need to sew the pages?
This project uses a notebook, so no sewing is needed. If you’d like to make a book from loose sheets later, learn a binding method as a separate project.


